My animation: http://www.youtube.com/watch?v=uzLVdIoF3pM

Our first step was to draw our illustrations from our storyboards. We used A5 sized paper. If we wanted a part of the drawing to move we would draw it separately. (Example: The Axe I sketched).
The second step was to cut out the images from the paper using scissors.
Our third task was to draw a background using A4 or A5 peices of paper.

Step 2: Filming And Capturing
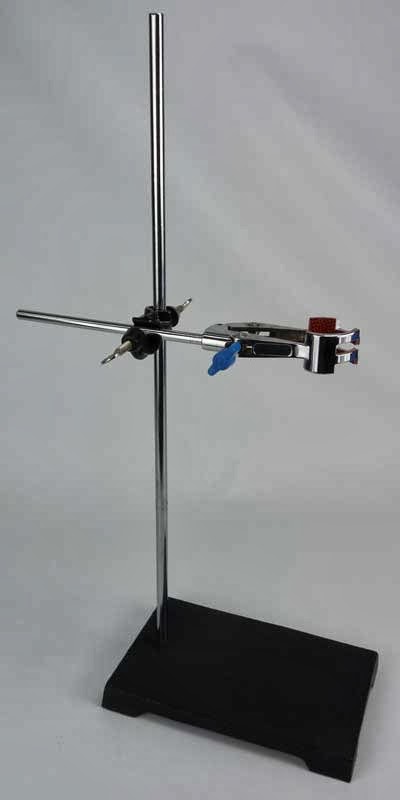
- Our first step was to set up the camera. We used a Sony Handycam. And a copy stand, to support the camera. Then I used a Firewire cable to connect the camera to the mac.
- Our Second task was to open iStopMotion. And open a new file.
- The next task was to capture the movements, of the cut outs. We used the capture button, which was used each time we added a new frame.
Step 3: Editing and Exporting
- After using iStopmotion the next task was to export the file onto quicktime and open it on Final Cut Express.
- The next task was to add music and audio onto my animation, for this I used a online youtube mp3 converter. And opened the music file in Final cut.
- Once the video was edited, I exported into quicktime and then uploaded it onto Youtube.
No comments:
Post a Comment